Mallet
A woodworking project.
The Goal
One thing I'd like to do at some point in the future is build a guitar. But for me, the purpose of this goal is not so much about the result (having another guitar) as it is about the process of learning and creating.
The Rabbit Hole
Woodworking is a new hobby to me. I've not actually built anything except occasionally fixing a handle or wobbly table leg. So I started researching, and it turns out there is a lot of information on the intenet about woodworking.
When I was younger, the main problem with this sort of endeavor is finding any information at all about the subject matter. Today, there is more information than I can consume, so a new problem arises of sifting through to find the subset that is relevant to me and my particular goals.
I decided to start with hand tool woodworking, for aesthetic reasons. There's something cooler or more romantic about the human being providing the energy instead of a machine. Plus, machines are expensive, loud, and generate a lot of dust (which implies even more machines for dust collection).
Hand tools just seemed more approachable, so I took stock of the tools I've been gifted or bought over the years:
- 3 chisels, about 5/8" to 2"
- machinist's square
- felling axe
- a 3/8" electric drill
- 3" belt sander
- backsaw with mitre box
- assorted C clamps, two small bar clamps
- screwdrivers, pliers, sockets, wrenches, utility knife, etc.
I also bought a new 1/4" chisel, pull saw, and an inexpensive smoothing plane (about the same size as a Stanley #4) from the local big box store.
The chisels seemed like the right place to start, but even thought they seemed sharp, they were rusty and dirty, so cleaned them up, and bought some cheap diamond sharpening stones and learned how to flatten the backs and hone the bevels until they were razor-sharp.
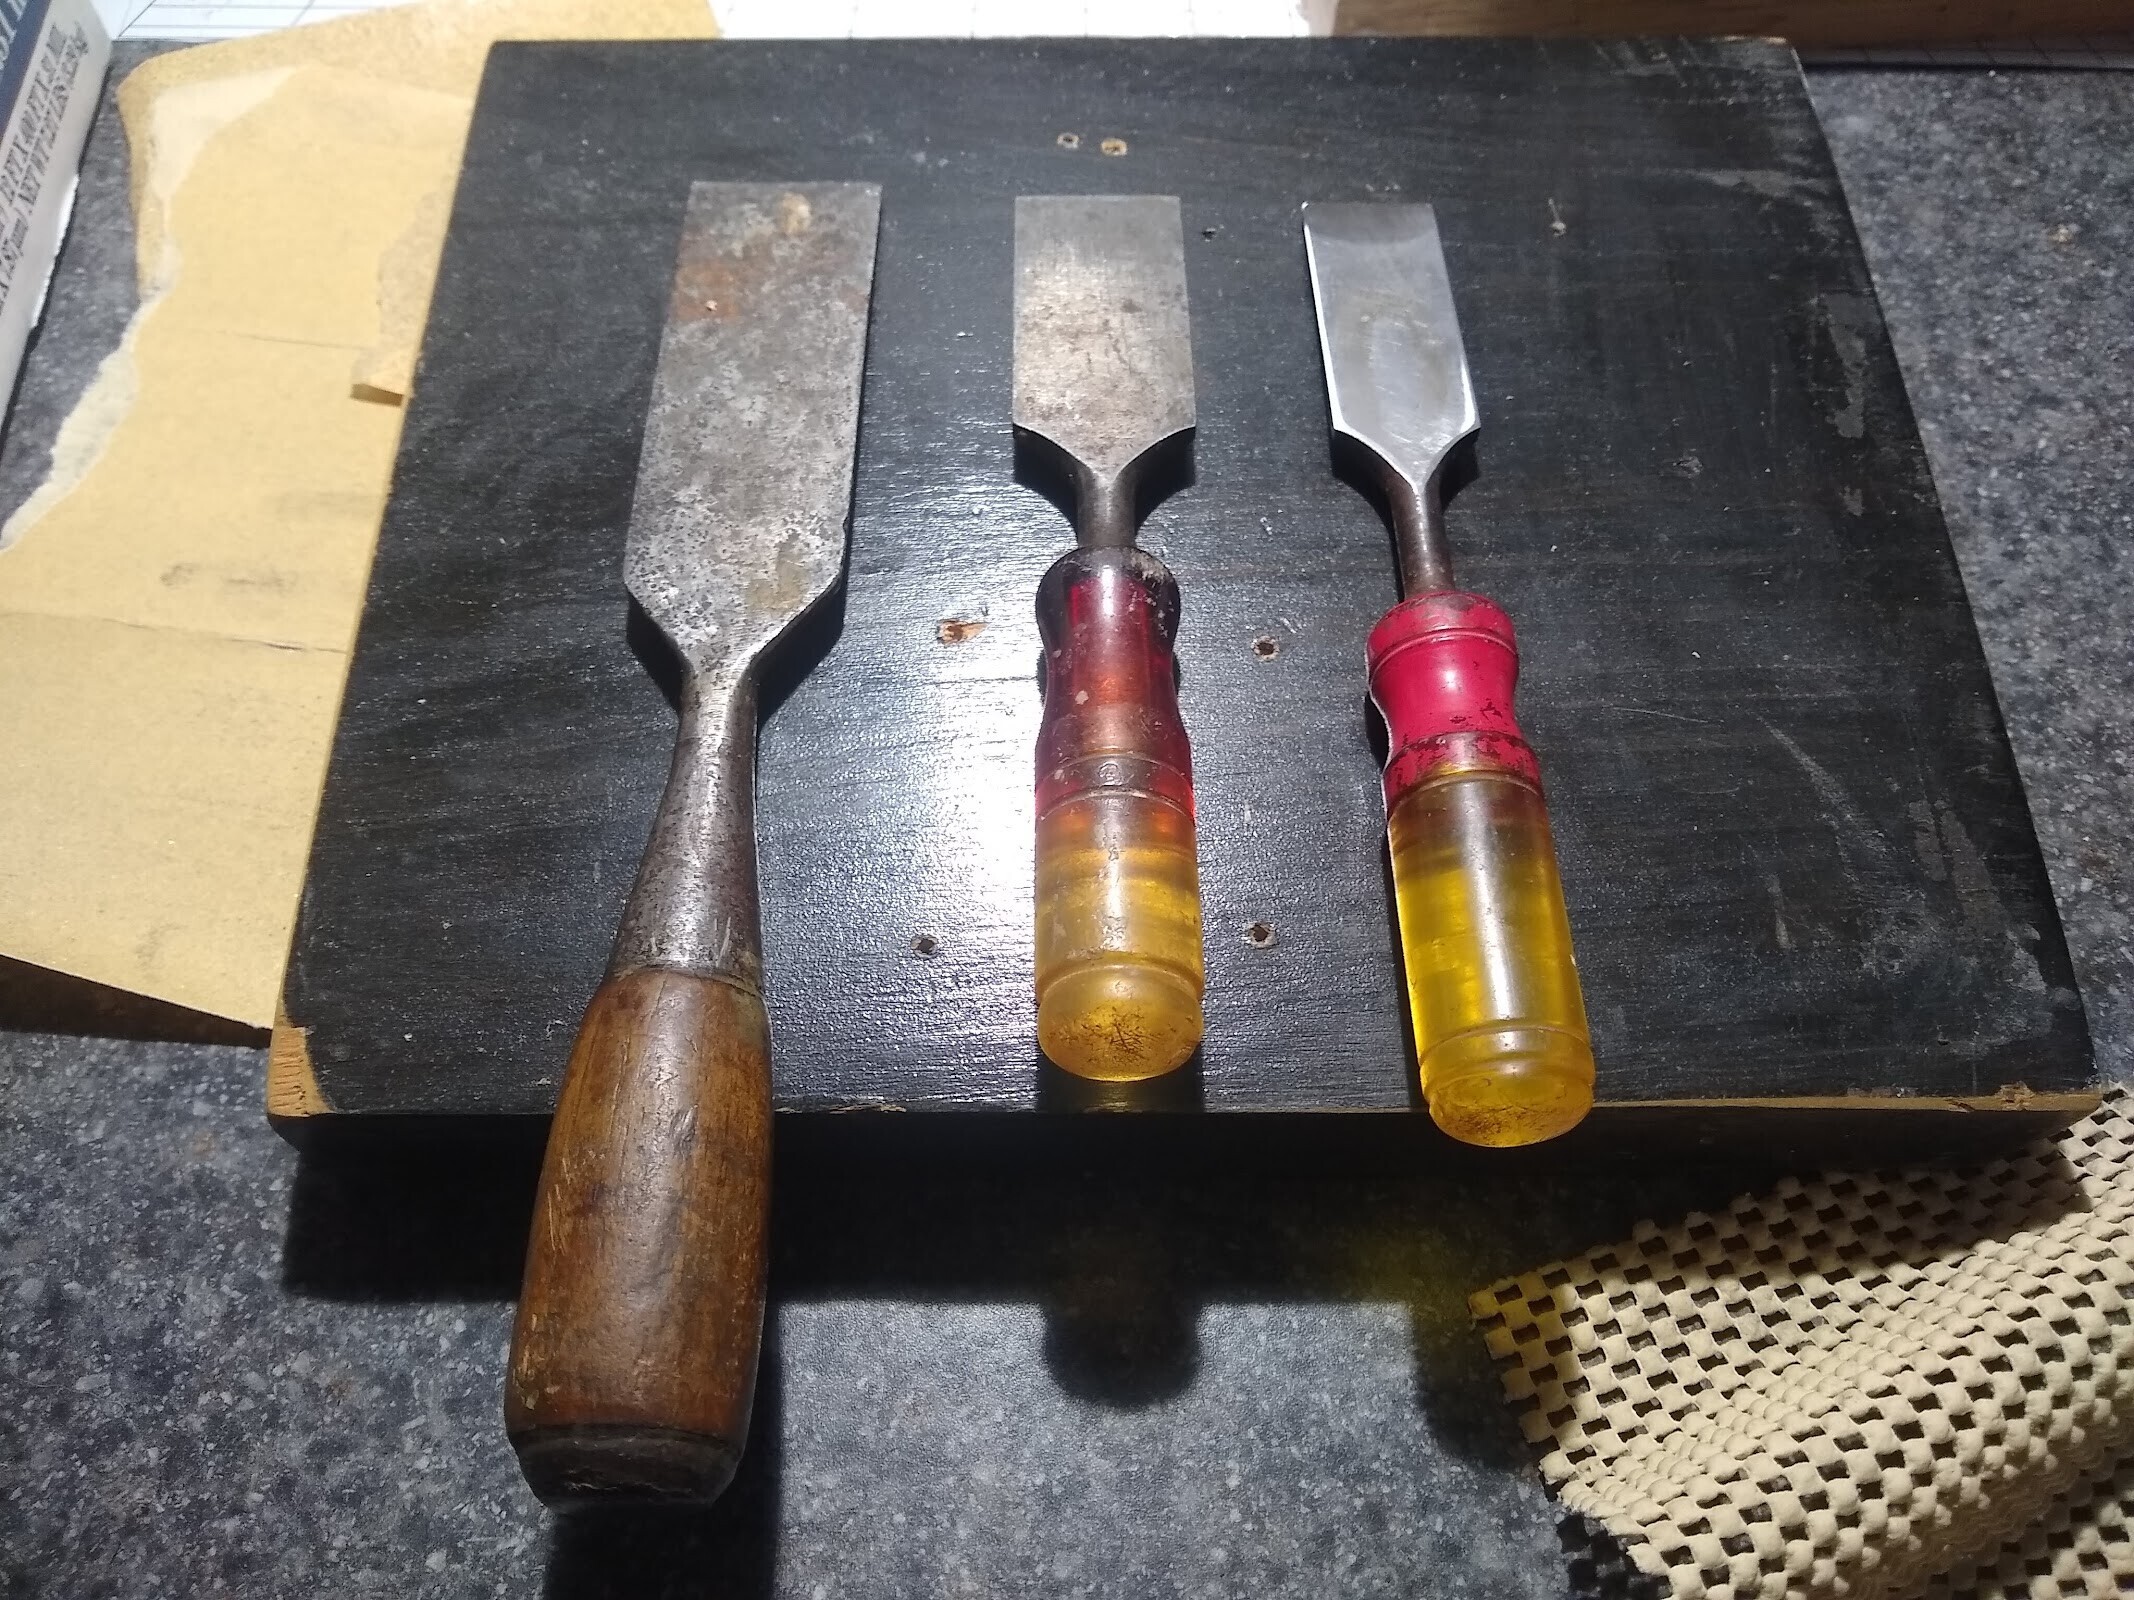
Figure 1: Before (left, center) and after (right)
At this point, I realized my progress so far had been steadily in the direction of "set up a woodworking shop" or "restore old tools". While this is its own kind of fun, I was more interested in creating something with my hands.
A Beginner Project
Eventually I'd like to do most of the guitar making using hand tools. For example, the reason I bought a 1/4" chisel was for the specific task of cutting a channel for a truss rod in a guitar neck. Looking back now, I think this was a premature purchase, because I'm not ready to build the guitar just yet.
If not a guitar, what am I ready to build? Something simple ideally. I found Paul Sellers' video series on making a jointer's mallet, as well as Rex Krueger's woodworking for humans series, and with these as inspiration, I set out to try to make one for myself. This project seemed approachable with the tools I have. More importantly, if I was successful, at the end I would have another tool!
The Tree
One thing about this whole woodworking hobby that's important to me is using some of the local wood that has sentimental value to me. Shortly after my family first moved to our house, a massive ash tree in the backyard had to come down because it was dead/dying due to emerald ash borer damage.
Most of it was hauled away by the arborists, but some smaller logs had been drying (and rotting) in our backyard since. Ash was commonly used in guitar body construction until it started to become more scarce, and so in the back of my mind I'd always considered using it as part of my guitar project.
But ash is also very dense, so perhaps it is also suitable for making a mallet.
The Mallet
I started with a split log from the woodpile that seemed to be dry and not very rotten. After removing most of the bark with the felling axe, I split the log into a few pieces, trying to get a roughly mallet-shaped cross-section from one.
I ended up with a couple and started cleaning up the shape with the pull saw, resulting in this:
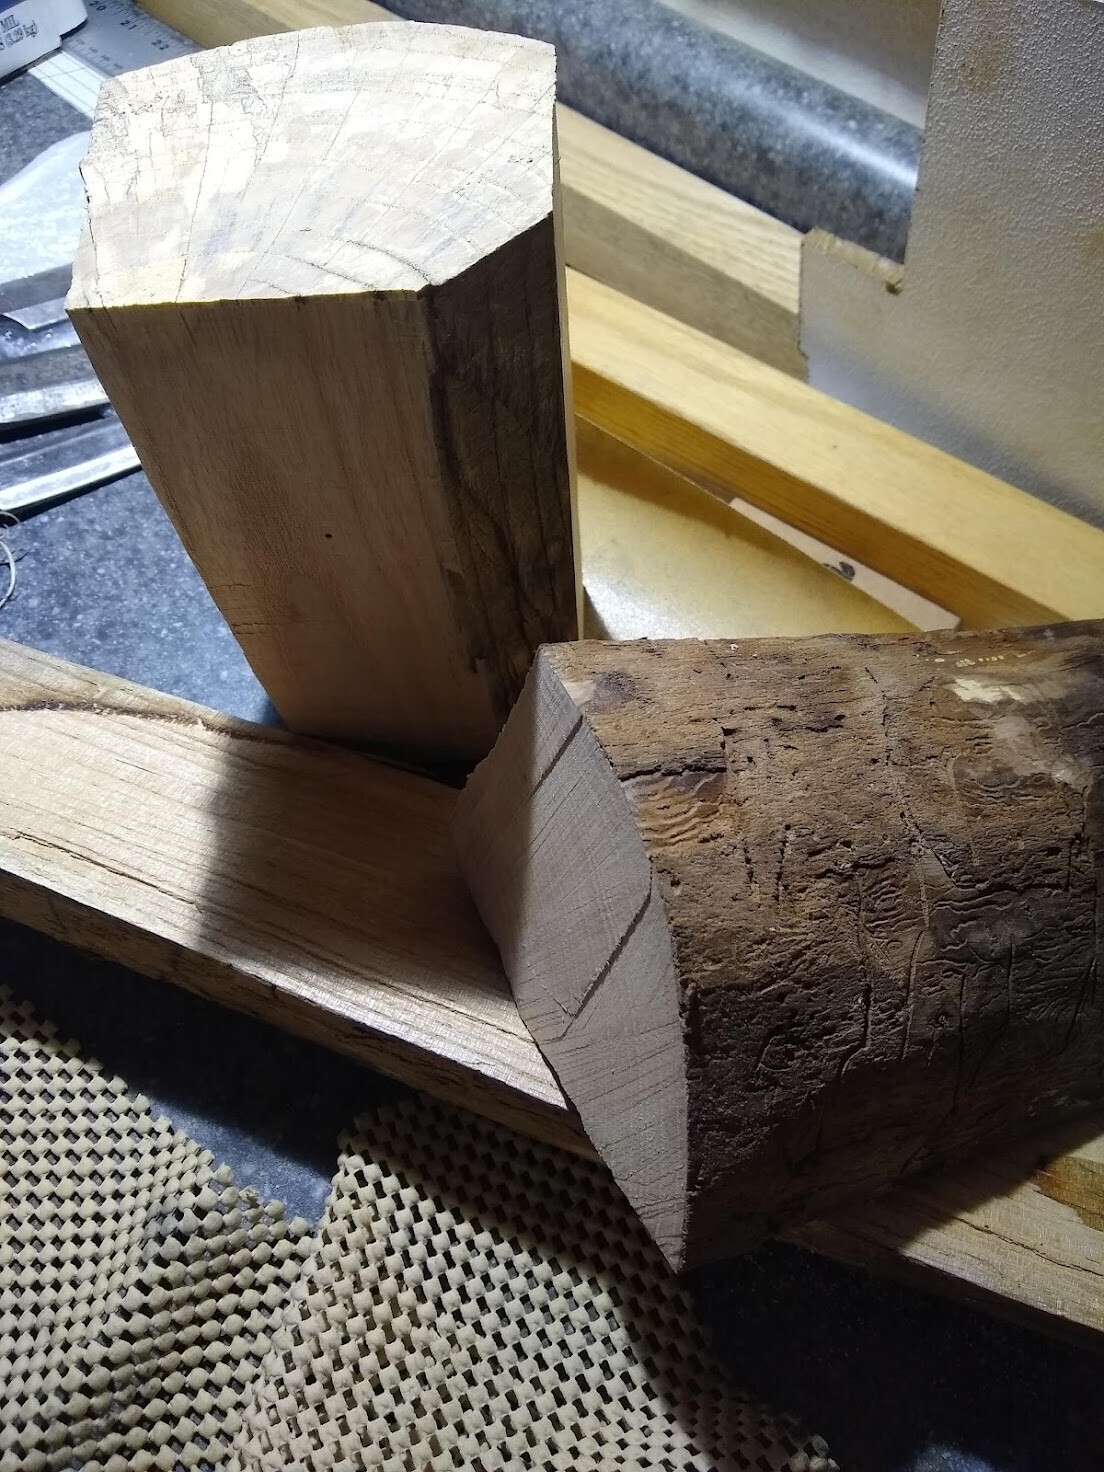
Figure 2: Rough Mallet Billets
After splitting more of the log for a handle, more sawing, and lots of hand planing to make a flat and square piece, I had two pieces of wood:
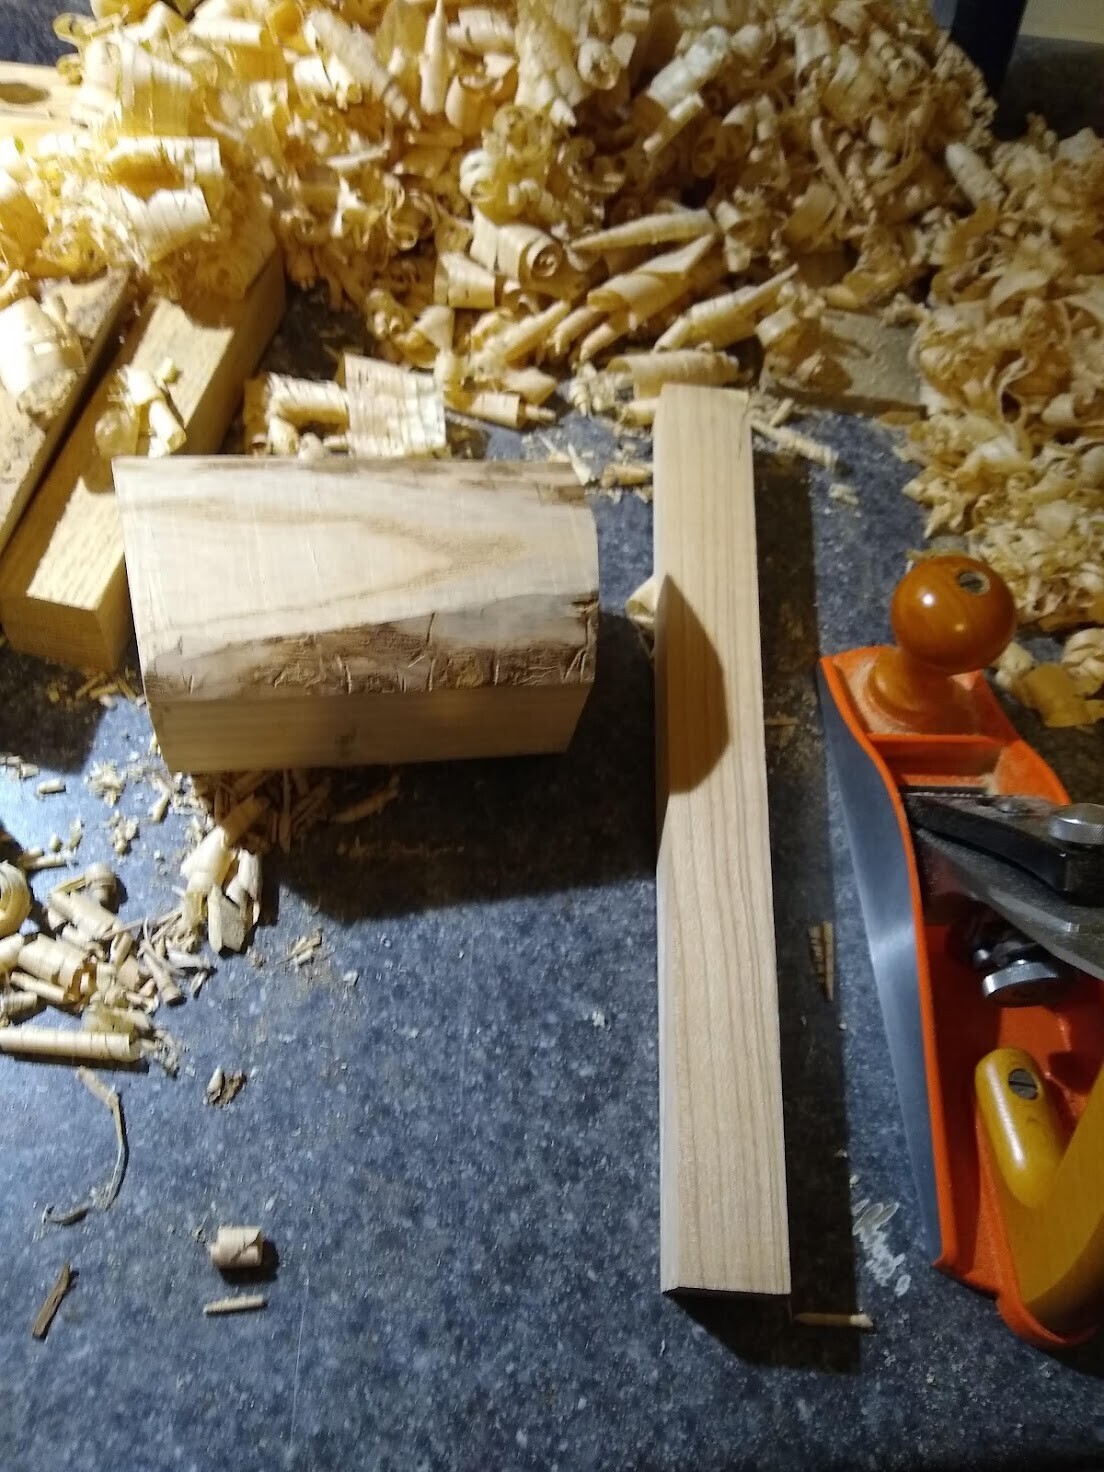
Figure 3: A Handle Too
One thing I realized during this process is that workholding is extremely important. Without a vise, and with a slippery makeshift workbench top, these bits of wood slide all over the place, making any kind of shaping work much harder than it already is.
Rather than address this shortcoming of my workspace, I simply added more time and effort.
The Mortise
Chiseling a mortise sure looks easy when Paul Sellers does it, but he has a heavy workbench with a cast iron face vise, and appropriately-sized chisels.
Chiseling a tapered mortise has no more essential complexity than chiseling a straight mortise (90 degrees is an angle after all), but for me at least it seemed more challenging.
I went slow, checked the fit many times, but it still came out quite uneven.
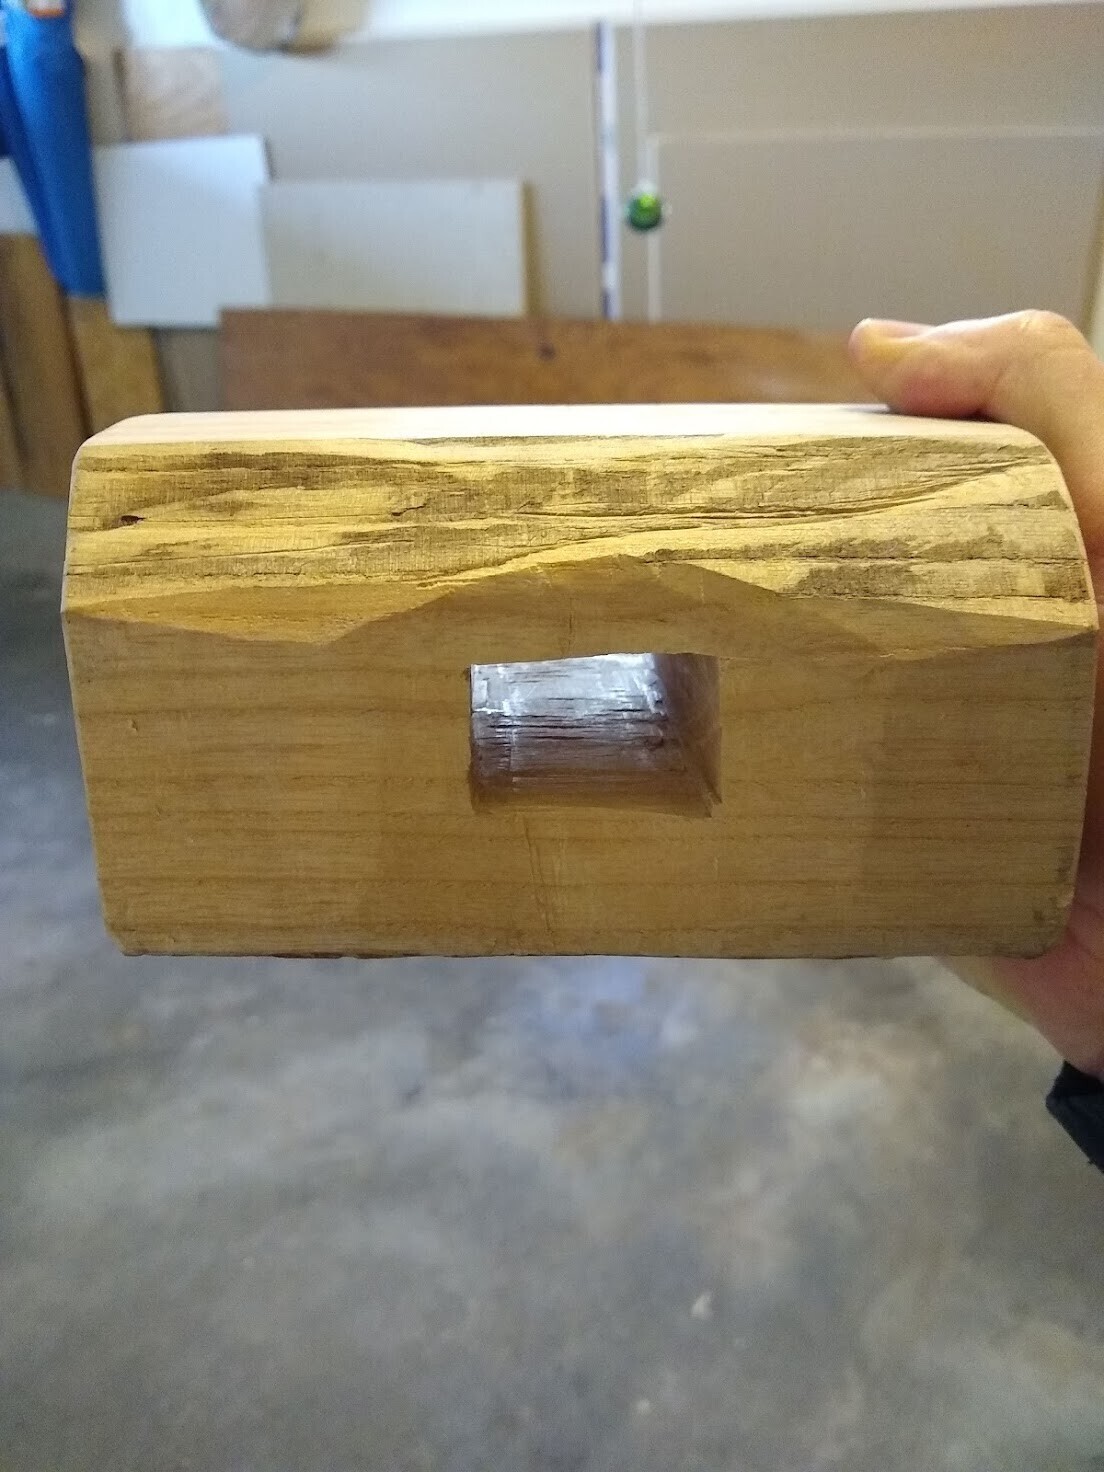
Figure 4: A Rough Mortise
The Results
Despite making several mistakes, eventually I got the tapered handle to fit in the mortise, and proceeded to carve some details in both the handle and head.
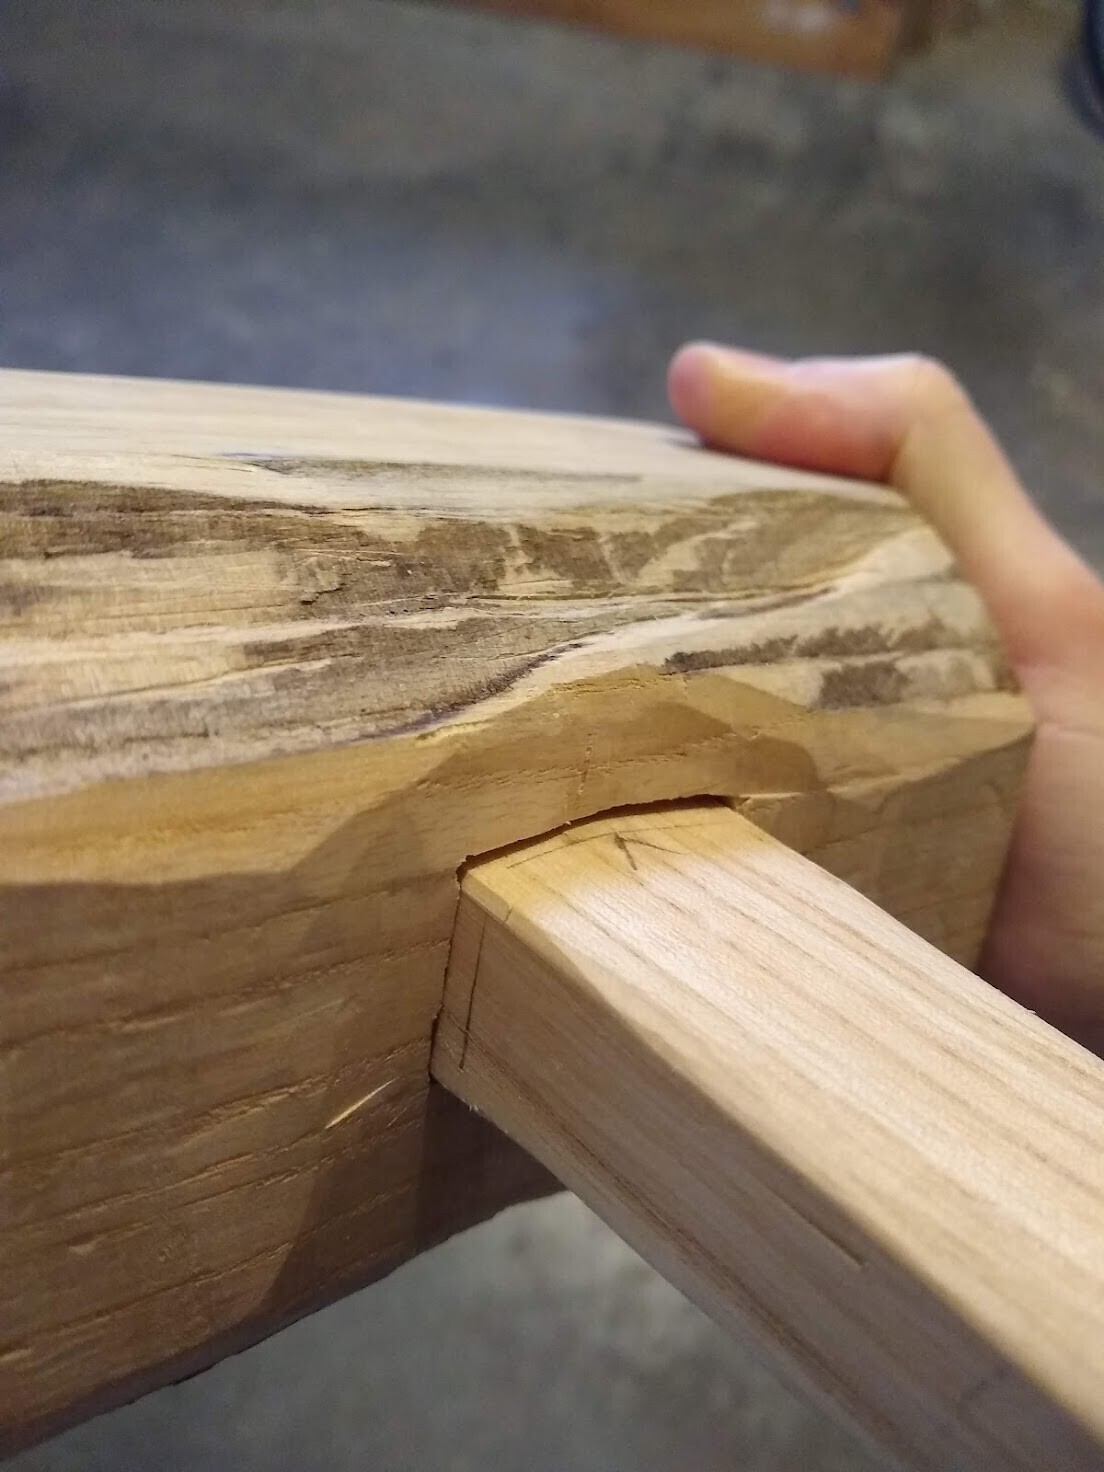
Figure 5: Curved Underneath
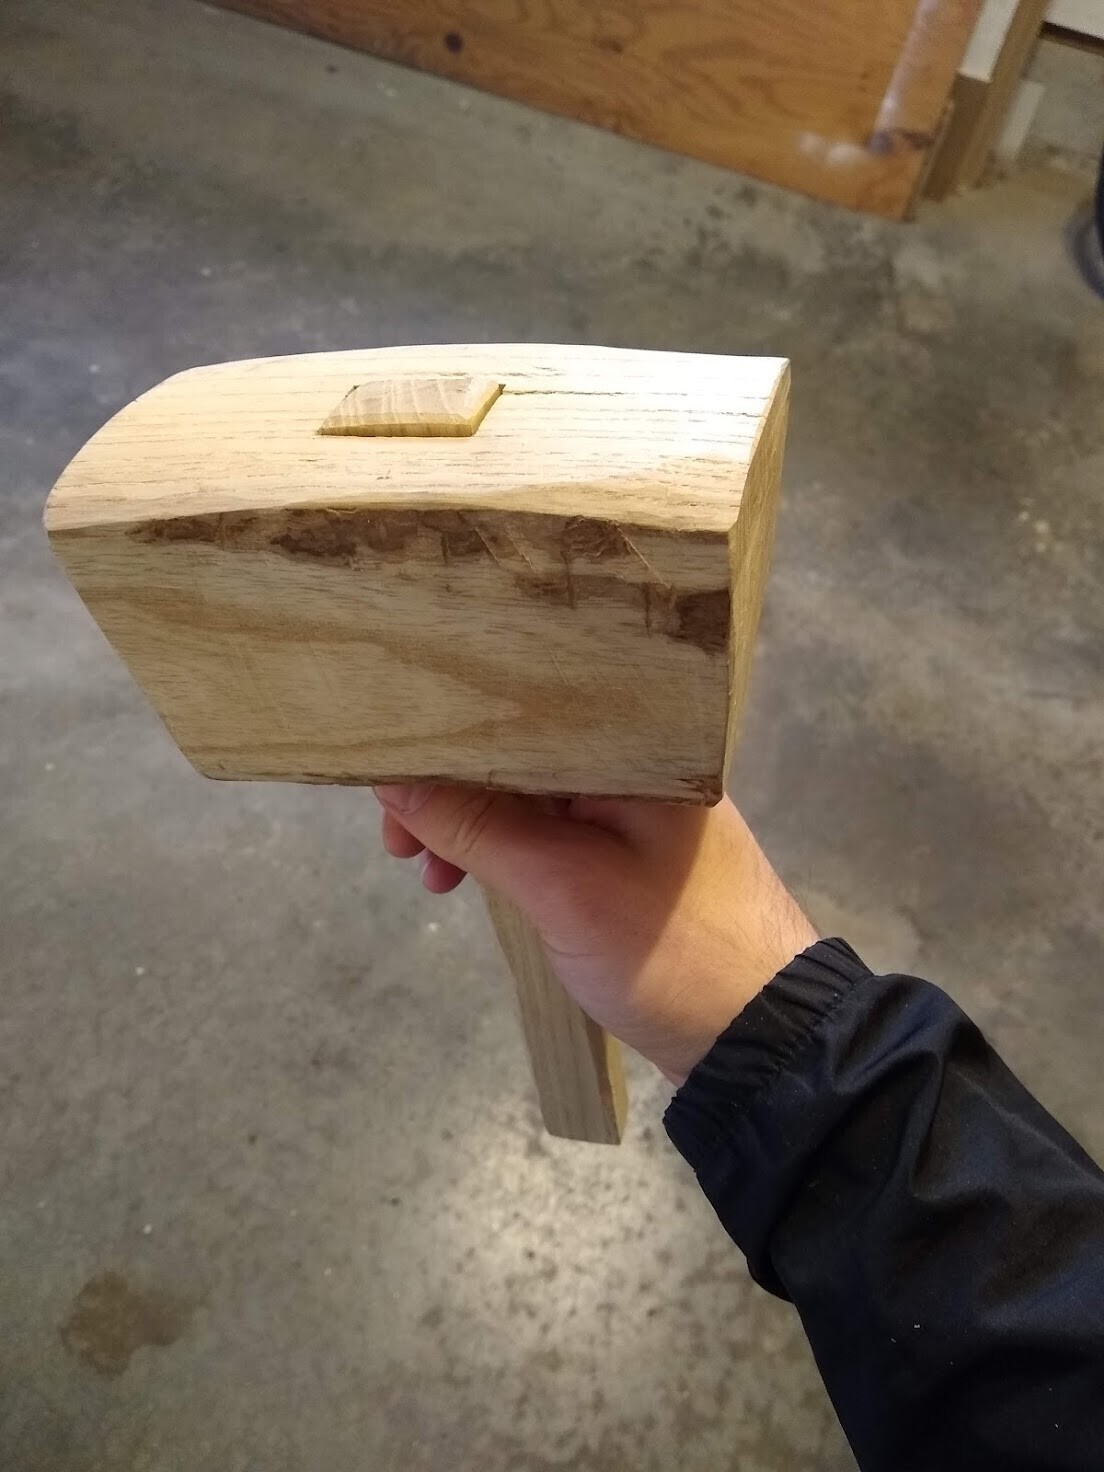
Figure 6: Curved Above
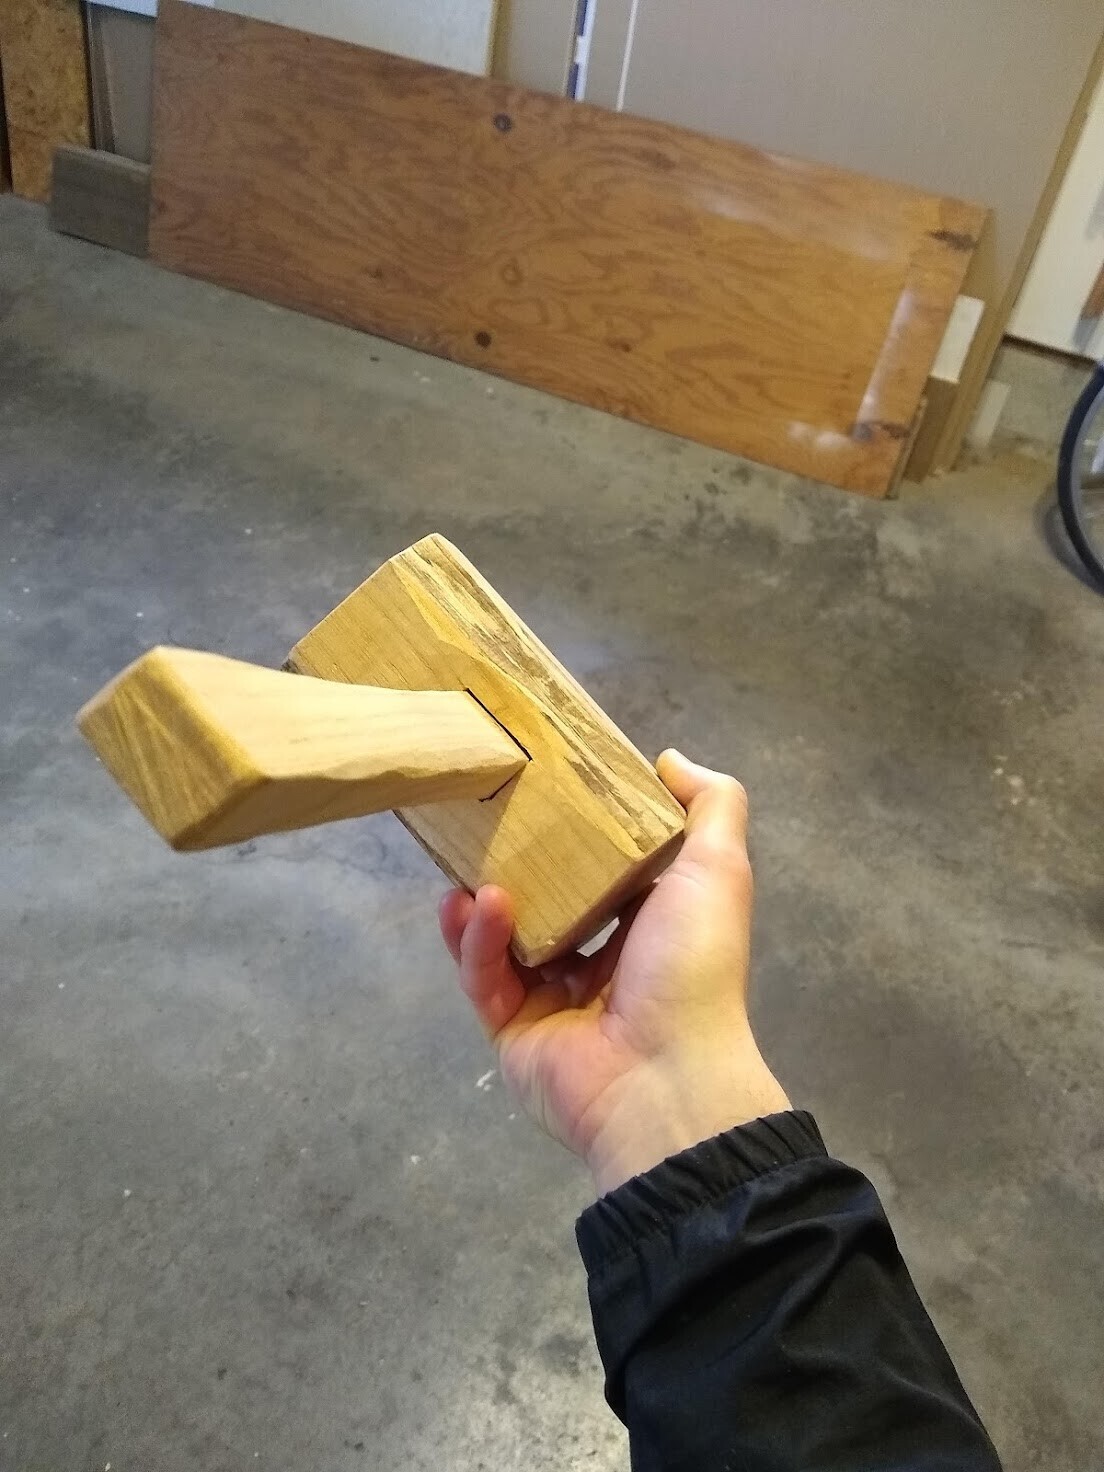
Figure 7: Carved Handle
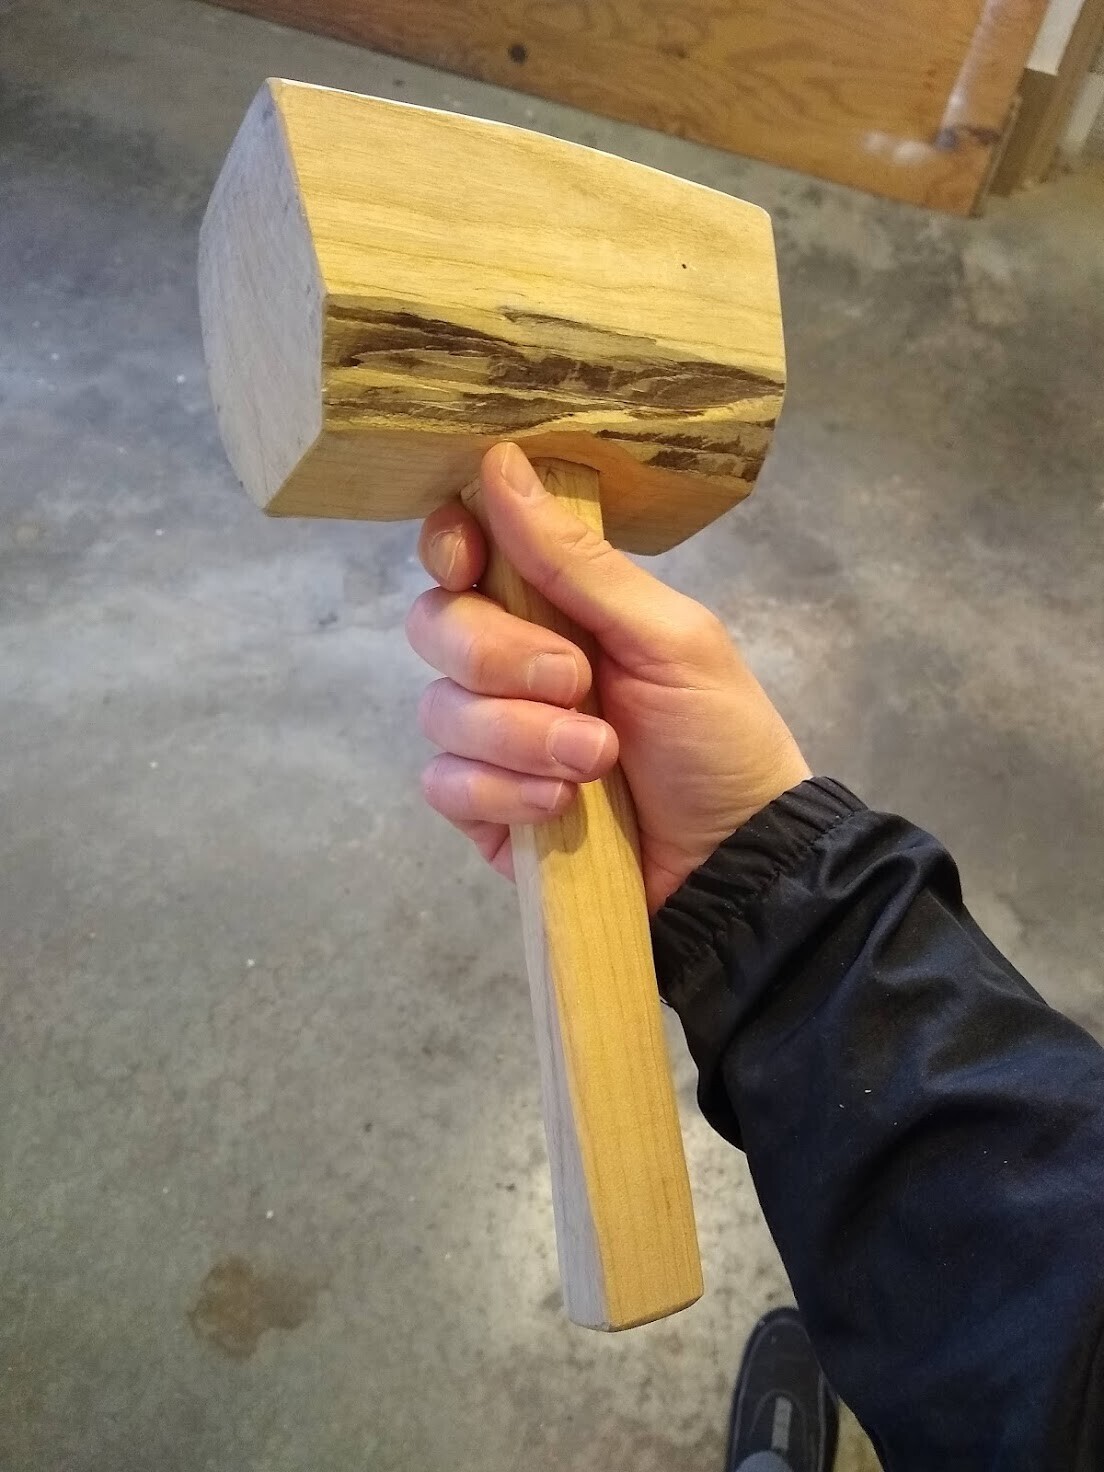
Figure 8: Mostly Finished Mallet
Next Steps
I think I will do a little more finishing to this mallet, but I will keep the "live" edge showing the ash borer damage, as well as the split edge near the grip. I may apply a natural stain and something to protect the finish at some point.
Overall, even though I made a lot of mistakes with this project, and it didn't turn out perfectly, I am extremely satisfied with the result. The mallet feels like it will be useful for future chiseling tasks, and it also feels fairly balanced in my hand. It seems like it will work for powerful hits as well as providing enough balance and control for detail work, but time will tell.
I think my next step will be to improve the workholding situation in my workspace. Some sort of vise would have made a huge difference in this project, and enabled many others.